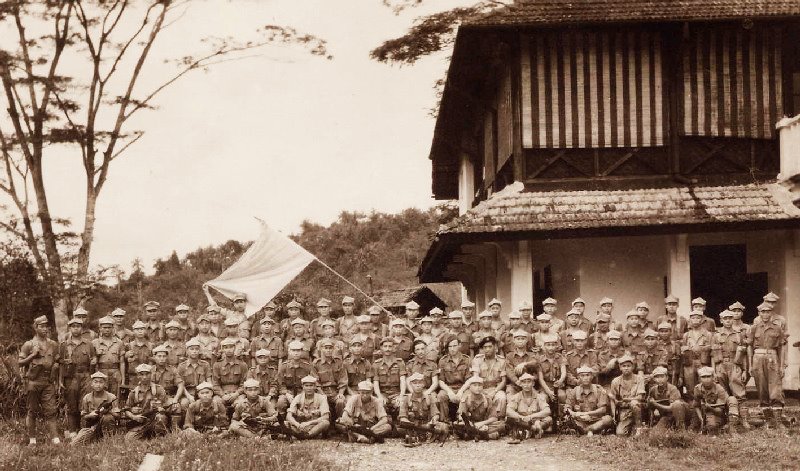
The Battle of Muar
The Battle of Muar was the last major battle of the Malayan campaign. It took place from 14 January to 22 January 1942 around Gemensah Bridge and on the Muar River. After the British defeat at Slim River General Archibald Wavell, commander of ABDA, decided that Percival’s III Indian Corps should withdraw 150 miles south into the State of Johore to rest and regroup, whilest the 8th Australian Division would attempt to stop the Japanese advance. Allied soldiers, under the command of Major General Gordon Bennett, inflicted severe losses on Japanese forces at the Gemensah Bridge ambush and in a second battle a few miles north of the town of Gemas. Members of the Australian 8th Division killed an estimated 700 personnel from the JapaneseImperial Guards Division, in the ambush at the bridge itself, whilest Australian Anti-tank guns destroyed several Japanese tanks in the battle north of Gemas. Although the ambush was successful for the Allies the defense of Maur and Bakri, on the west coast, was a complete failure which resulted in the near-annihilation of the British-Indian 45th Brigade and heavy casualties for its two attached Australian Infantry battalions.
This is the first engagement between Australian and Japanese forces in the Battle of Malaya. The 53rd Infantry Brigade was also the only British unit of the18th Division to fight the Japanese in Malaya.
The ambush was ordered by the head of Malaya Command, Lieutenant General Arthur Percival's own instructions; he strongly felt that ambush was the way to fight the Japanese. A multinational force under Bennett, codenamed Westforce, was assigned to defend the Muar area.
Westforce took up positions, covering the front from the mountains to the shore of the Malacca Straits. There were two main areas, and both of these were sub-divided into sectors, which were themselves widely separated and linked with each other chiefly by rather tenuous signal communications.
The first area was around the central trunk road and the railway beyond Segamat. The three subordinate sectors were:
(a) Astride both road and railway near
Gemas. Here, the 8th Indian Brigade made up the holding force.
Gemas. Here, the 8th Indian Brigade made up the holding force.
(b) Further forward along the same road lay the 27th Australian Brigade. They were charged with a counter-offensive role, and had already prepared an advanced ambush, from the 2/29th Australian Infantry Battalion, for the Japanese several miles ahead at the Gemensah Bridge.
(c) Leftwards was the 22nd Indian Brigade tasked with guarding the approaches to Segamat from Malacca, which skirt either side of Mount Ophir.
B company of the 2/30th Australian Battalion, under Captain Desmond J. Duffy, entrenched and concealed themselves on one side of the Gemensah Bridge, spanning a stream, as part of the ambush. The bridge itself had been mined with explosives, and a battery of field artillery sited on higher ground behind the infantry whence it could command the Japanese approach to the bridge. The 2/30th (New South Wales) A.I.F. Battalion was under Lieutenant Colonel Frederick Galleghan, nicknamed “Black Jack”.


Cool and informative blog! What motivated you to blog about the War in Malaya? Keep up your good work!
ReplyDeleteThis comment has been removed by a blog administrator.
ReplyDeleteWarfare is a fascinating subject. Despite the dubious morality of using violence to achieve personal or political aims. It remains that conflict has been used to do just that throughout recorded history.
ReplyDeleteYour article is very well done, a good read.
I believe these are photoes from the Milney Bay campaign
ReplyDeleteThamks for pointing out.
Delete